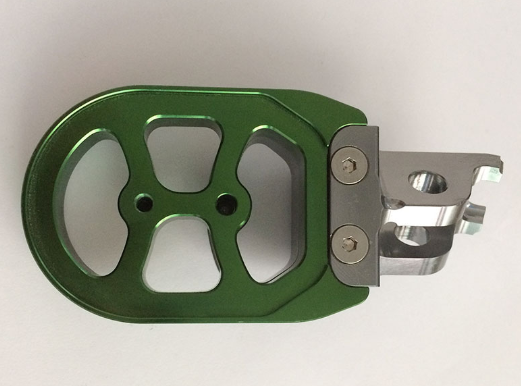
CNC workpiece placement
CNC machining center is developed from CNC milling machine automatic processing equipment, CNC machining center powerful processing capacity can bring higher work efficiency for enterprises. automation equipment Aluminum alloy parts installation is an important problem in mold processing, it not only directly affects the machining accuracy, workpiece installation speed, stability, but also affects the level of productivity.
In order to ensure the relative position accuracy between the machining surface and its design datum, CNC machining workpiece should be installed so that the design datum of the machining surface occupies a correct position relative to the machine tool. The workpiece must be installed so that its design datum and the axis line of the machine tool spindle coincide. There are various installation methods for machining parts on various machine tools. Below small make up to introduce the CNC workpiece placement.
Installation methods can be summarized as direct alignment, line alignment and the use of fixture installation method, such as 3, the following by the manufacturer to introduce the direct alignment.

1. Find the right method directly
In this method, the correct position of CNC machining automation equipment Precision parts on the machine tool is obtained through a series of attempts. The specific way is to load the CNC machining workpiece directly on the machine tool, with the dial gauge or the scriber on the scriber, to visually correct the correct position of the workpiece, while checking and aligning, until the requirements.
The positioning accuracy and speed of direct alignment method depend on alignment accuracy, alignment method, alignment tools and workers' technical level. Its disadvantage is that it takes much time, low productivity, and to operate by experience, high technical requirements for workers, so only used in single, small batch production. In addition, when the positioning accuracy of the workpiece is required to be higher, for example, when the error is less than 0.01-0.05mm, it is difficult to meet the requirements by using the fixture (because of its own manufacturing error), it is necessary to use precision measuring tools, and by the workers with a higher technical level with direct alignment to locate, in order to achieve the accuracy requirements.
